The first time I used Apple Pay, I was already at the checkout before realizing I had left my wallet behind. Instead of abandoning the purchase, I added my debit card to Apple Wallet and paid with my iPhone.
To use Apple Pay, you add an eligible debit, credit, or prepaid card to Apple Wallet, then pay in stores, apps, or supported websites by confirming the payment on your Apple device. The process took only a few minutes and I will show you in detailed.
Apple Pay lets you make payments in stores, apps, and supported websites using a saved card in Apple Wallet. Depending on your device, you can confirm payments with Face ID, Touch ID, Optic ID, or a passcode.
For Apple device users who want a faster, more secure way to check out without carrying a physical wallet, it is a practical option for both in-store and online payments.
In this blog post, I will show you what Apple Pay is, how it works, and how to set up and use it on iPhone, Apple Watch, iPad, Mac, and other compatible Apple devices.
What Is Apple Pay and How Does It Work?

Apple Pay is Apple’s payment service for making purchases with supported cards added to Apple Wallet. In a store, an iPhone or Apple Watch communicates with the contactless payment terminal using NFC.
Online or inside supported apps, you choose Apple Pay at checkout and authorize the transaction on a compatible device.
Apple Pay and Apple Wallet are related, but they are not exactly the same thing:
| Apple Pay |
Apple Wallet |
| Payment technology/service |
App that stores eligible digital items |
| Used to make purchases |
Holds supported credit/debit cards, passes, tickets, keys, IDs and more |
| Works with eligible cards in Wallet |
Provides access to the cards used by Apple Pay |
| Available only in supported markets |
Wallet itself has uses beyond Apple Pay |
How to Use Apple Pay in Stores
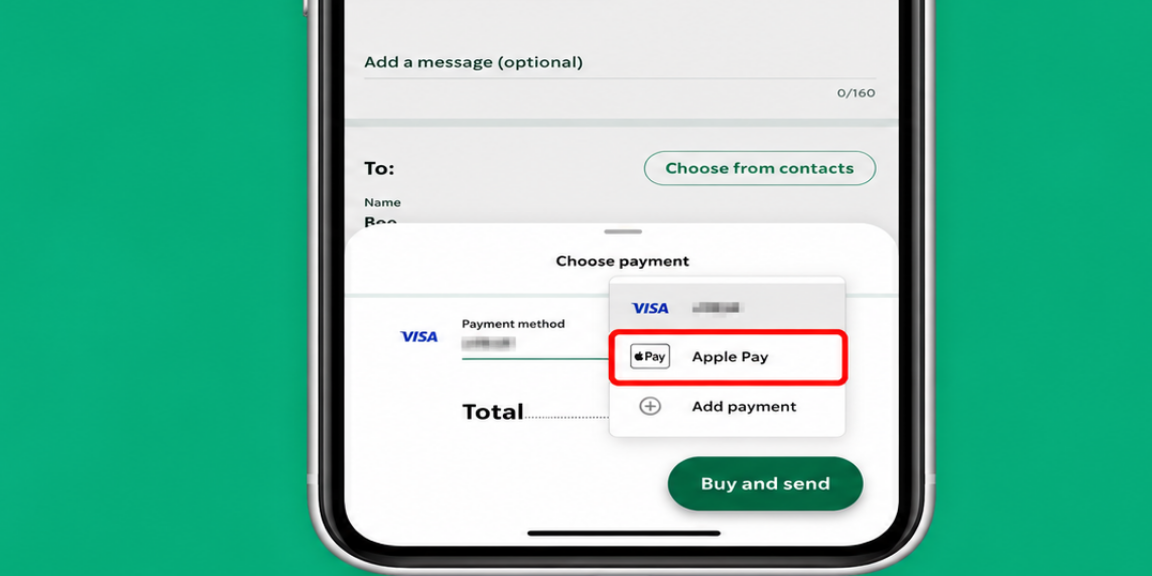
You can use Apple Pay at participating stores, restaurants, gas stations, taxis, and other locations where compatible contactless payments are accepted. Apple Pay is accepted at over 85 percent of U.S. retailers, and apple pay works smoothly for contactless checkout, though acceptance still depends on the merchant and the card network/payment card you are using.
On an iPhone With Face ID
- Double-click the side button.
- Confirm with Face ID or your passcode.
- Hold the top of your iPhone near the payment reader.
- Wait for Done and a checkmark.
To use a different card, tap the default card when it appears and select another one before confirming the payment.
On an iPhone With Touch ID
- Rest your registered finger on Touch ID, which is built into the home button on supported iPhones.
- Hold the top of your iPhone near the payment reader.
- Wait for Done and a checkmark.
On an Apple Watch
- Double-click the side button.
- Scroll to another card if you do not want to use the default.
- Hold the watch display near the payment reader.
- Wait for the tap and confirmation sound.
Cards must be added to your Apple Watch separately through My Watch > Wallet & Apple Pay in the Watch app on your iPhone.
How to Use Apple Pay Online and in Apps
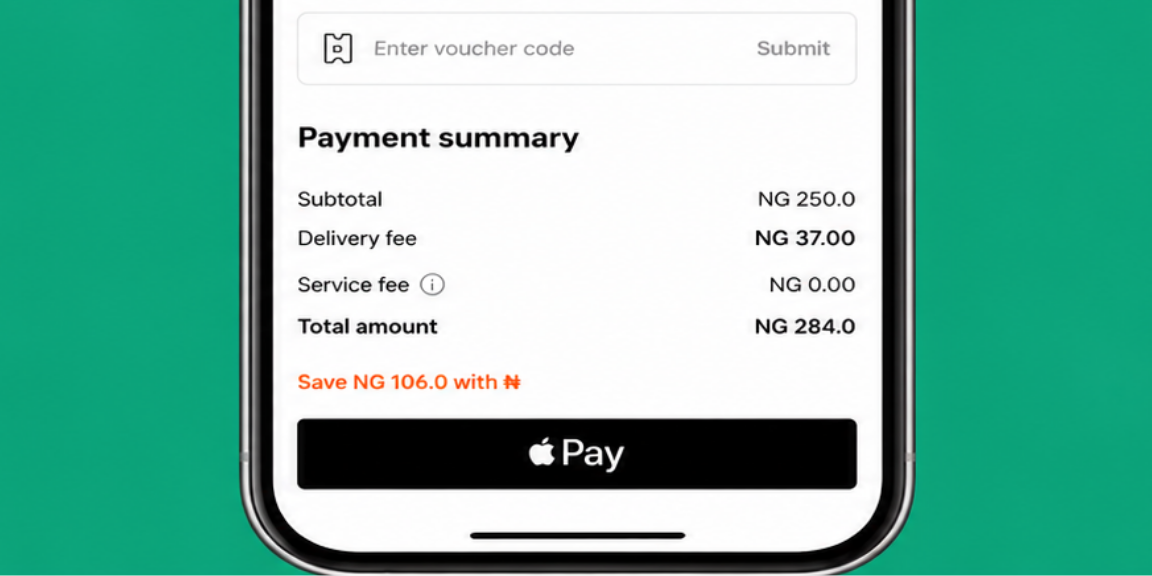
When a supported app or website offers Apple Pay, checkout is usually faster than manually entering your card number, billing address, and other payment details, and on supported websites and in apps, including purchases in Safari, you can pay without filling out lengthy forms.
- At checkout, tap or click the Apple Pay button, or choose Apple Pay as the payment method on supported websites or app-based services.
- Review the selected card, amount, shipping address, billing details, and contact information where applicable.
- To use another payment method, select the option to change the card/payment method.
- Confirm the purchase using the method your device requires.
- Wait for the completed payment confirmation.
The current confirmation methods are:
| Device |
Apple Pay Confirmation |
| iPhone/iPad with Face ID |
Double-click side button, then Face ID or passcode |
| iPhone/iPad without Face ID |
Touch ID or passcode |
| Apple Watch |
Double-click side button |
| Mac with Touch ID |
Place your finger on Touch ID |
| Compatible Mac without Touch ID |
Confirm on connected iPhone or Apple Watch |
| Apple Vision Pro |
Optic ID or passcode |
How to Use Apple Pay on iPad, Mac and Vision Pro
On the major Apple devices, I have mentioned a step-by-step way to use apple pay. This covers the following devices:
- Apple iPad
- Mac with touch ID
- Mac without touch ID
- Apple Vision Pro
Apple Pay on iPad
Compatible iPads with Face ID or Touch ID can use Apple Pay within supported apps and on the web, rather than for the standard iPhone-style tap at an in-store terminal. To set up Apple Pay on a compatible iPad, go to Settings > Wallet & Apple Pay > Add Card, then confirm purchases with Face ID, Touch ID, or your passcode as instructed.
Apple Pay on a Mac With Touch ID
On a supported Mac, go to System Settings > Wallet & Apple Pay, add and verify an eligible card, including an apple card where available, then select Apple Pay at a supported online checkout. When prompted, use Touch ID to authorize the payment. Macs with Apple silicon can also support Apple Pay with an appropriately paired Magic Keyboard with Touch ID.
Apple Pay on a Mac Without Touch ID
A compatible Mac without built-in Touch ID can use an Apple Pay-enabled iPhone or Apple Watch to confirm eligible purchases. On the iPhone, turn on Settings > Wallet & Apple Pay > Allow Payments on Mac. For Apple’s standard confirmation flow, the devices should be signed in to the same Apple Account and the authorizing iPhone/Watch should be Bluetooth-connected when required.
Apple Pay on Apple Vision Pro
On Apple Vision Pro, go to Settings > Wallet & Apple Pay > Add Card and follow the verification process. Apple Pay can then be used in supported apps and websites; payment confirmation uses Optic ID or the device passcode. Recent transactions and the default card can also be managed from Wallet & Apple Pay settings. Apple Pay and related names are services of Apple Inc.
Frequently Asked Questions About Apple Pay
How Do I Use Apple Pay for the First Time?
To set up Apple Pay for the first time, add an eligible debit or credit card to the Wallet app, complete your issuer’s verification, then use your iPhone or Apple Watch at a compatible contactless terminal or select Apple Pay at a supported online/app checkout.
Can I Use Apple Pay on Apple Watch Without Taking Out My iPhone?
For an Apple Pay card already provisioned to Apple Watch, an ordinary in-store purchase is initiated by double-clicking the Watch’s side button, selecting the desired card if necessary, and holding the Watch near the contactless reader. You do not need to take out the paired iPhone or reach for a physical card for that normal payment flow.
How Do I Change My Default Apple Pay Card?
On an iPhone, open Wallet, touch and hold your preferred card, then drag it in front of the other cards. You can also change the default card through Wallet & Apple Pay settings on an Apple Watch, iPad, Vision Pro, or Mac. The change applies only to that device.
How Do I Check My Apple Pay Transactions?
Open Wallet on your iPhone, select the payment card, and review the recent transactions displayed. You can tap a transaction for more information. Since the available history varies by card issuer, check your bank statement for a complete and accurate record.
Conclusion
Apple Pay is a secure and convenient payment option that is gaining traction in Nigeria. While not yet as widely used as some other methods, it offers significant advantages for both local and cross-border transactions, especially with support from fintech platforms like Flutterwave and Paystack.
Setting up Apple Pay is simple, and once done, you can use it for online and in-store payments or receive money through Apple Cash. With its ease of use, fast transactions, and strong security features, Apple Pay is a valuable tool for anyone looking to simplify their payment experience in Nigeria. Follow our simple guide to set it up.